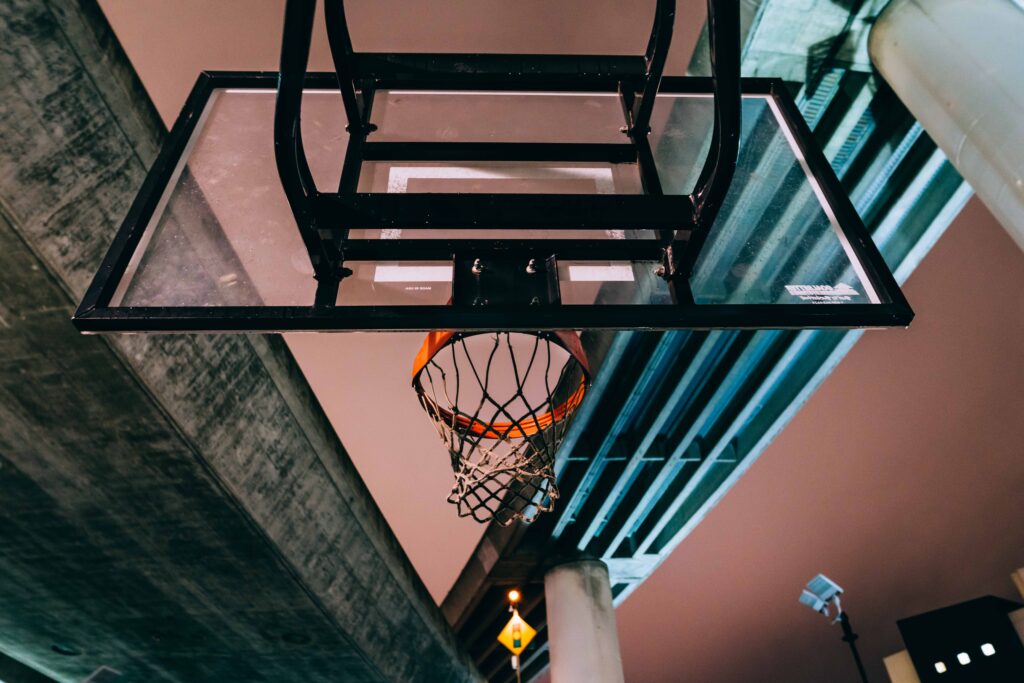
In the previous article, we talked about some of the non-technical aspects of basketball photography. These are just as important because you need to be prepared when covering a basketball game. Now I know you are eager to dig into the technical side of the topic. Camera settings, gear, and tips on how to get that shot you want.
Let’s begin!
The Gear
In the Philippine photography setting, there is a saying you might have heard of. It goes like “Wala yan sa Pana, nasa Indian ‘yan!” it basically means that your output is determined by the know-how of the photographer and not the gear. To a certain extent, this is true because as Ansel Adams once said, “The single most important component of a camera is the twelve inches behind it!”
You need to at least know the basics before taking on basketball photography. However, you will quickly find the importance of investing in quality gear later on. I like that line in Iron Man when his father said that he was limited by the technology of his time. You need the proper gear to capture those fast moving athletes.
I started with a decent Canon 7D Mark II which was really meant for sports photography having a decent burst rate. However, I had to hold on to my 18-135 kit lens for the longest time. It took a long time before I was able to purchase my 70-200 f2.8 II and then later on a 24-70 f2.8 I. If you are just starting out, make use of whatever gear you have. Upgrade when you have the funds and find that your creativity is limited by the technology you have. 🙂
Check the light
Now comes the actual photography part because we will touch on the topic of light. If you do not know yet by now, photography comes from the Greek words photos (“light”) and graphe (“drawing”). That should be enough to help understand how important light is to photography. There are a lot of different lights but let’s focus on what we need at this point.
Sad fact – a lot of basketball courts in the country are not well-lighted for photography. Even professional venues are sometimes challenging. Moreso if you are shooting for recreational or community leagues, lighting will be anywhere between manageable and terrible. If the games you are covering is at daytime, you will have an easier time shooting at high shutter speeds. However, the darker it gets, you need to start making adjustments.
One PRO TIP is to look at how the lights on top fall on the ground. There is a good chance that at certain points on the court, you will get decent lighting. Make mental notes of those points and take shots when players are on it. It takes a lot of time and practice but your photos can come out better exposed and usable.
Talk Shop
Basketball photography is not at all different from other forms when you start to look at the basics. Let’s talk shop and see how each of them is tweaked to help you get the shot you need.
- ISO – This is ideally the first item you adjust and you forget about it until the end. Of course, that is if your lighting situation does not change from time to time. Still, you need to look at your ISO first when shooting a basketball game. If the venue is dark, bump up your ISO as needed. Do not be afraid of going high with it. Your apprehension can be coming from people telling you about grain and noise. However, technology has come a long way in managing this in-camera. Post-production can also help you address that problem.
- Aperture – Your lens’ opening or in industry lingo “buka” is the next item on your list. In most cases, you would need to default to your lens’ widest opening. This is usually f2.8 or close to it. The reason for this is that you are trying to get in as much light from a closed venue. You pull light wherever you can. PRO TIP: You do not have to shoot at your widest always but doing so helps you blur the background and focus on your subject more. Did someone say bokeh? 🙂
- Shutter Speed – Sometimes referred to simply as “SS”, this is where you can express your creativity the most when it comes to basketball photography. The rule of thumb is that the more you want to freeze the action, the higher your SS should be. This is where practice comes in as well as understanding the league you are covering. If you are shooting a community league versus a professional one, there is a good chance that athletes in the pros move faster and make quick movements. That being said, a fast SS in community leagues could be slow in the professional leagues. The balance now is finding that sweet spot where you can freeze your subject with enough light coming in.
- Focusing – Now I shoot Canon and AI Servo is where your camera helps you follow focus on your subject. This is important when focusing so you do not lose sight of your subject. This is important because you will not have time to lock on and focus on fast-moving subjects. PRO TIP: It helps to have a back-button focus to let you separate focus from your shutter button.
The challenge with basketball photography is striking the balance between light and focus. PRO TIP: It is better to have slightly grainy but in-focus shot than a well-exposed but blurry photo. This is part 2 of our series on the subject. We have one more installment where we will look at additional tips when covering a basketball game.