In part one of this how to start a blog three-part series, we discussed the things that you need to identify before you can actually start your blog. Now, we are ready to create the actual blog site that you will use to publish your written creations online.
As easy as it goes, I learned that there are clear steps to follow in order for you to succeed in this. Thankfully, the web is a haven full of information and you can literally find answers to anything. As mentioned in my previous post, you need to be really determined to come up with a decent blog site for yourself. That should give you the willpower to find what you need on the Internet to achieve your goal. The tools are there, you just need to find them.
So to continue with our endeavor to learn how to start a blog, let us continue with step number 5.
STEP 5: REGISTER YOUR DOMAIN NAME
In the last post, we ended with step 4 which involved coming up with a name for your site. This is important because this is how online users will identify you. When you have your site name, see if it is available by doing a search in domain registrars. I used GoDaddy.com as my domain registrar. When it is available, you need to pay for the domain name.
If you do not want to pay for it, there are free versions. For instance, if I chose to create a free site through the WordPress platform, my URL will appear to be earnathomeph.wordpress.com. This is acceptable but a paid domain name will give you a more professional image. It is all up to you of course. A paid domain name just provides more room for growth – in case you want to take your site further.
STEP 6: HOW TO START A BLOG? CHOOSE A WEB HOST
A free site through WordPress will not require a separate hosting service. But if you pay for your domain name and you wish to profit from your blog site, then a paid hosting service is highly recommended.
Think of your website as a folder containing various files. The web host service provider will allow you to use a server from their infrastructure to store all those files – just like a computer does. The monthly payment you need to shell out will be the rent for that space. The bigger the site, the more space you will need. A hosted server will allow users to access your site via the web – even if you are online or not.
There are cheap hosting packages out there that you can avail of. A blog website does not really need much in terms of hosting services so feel free to choose a cheap one. The considerations will include bandwidth, disk space, email hosting, and a secure server that will hold your website files.
STEP 7: CREATE YOUR WEBSITE

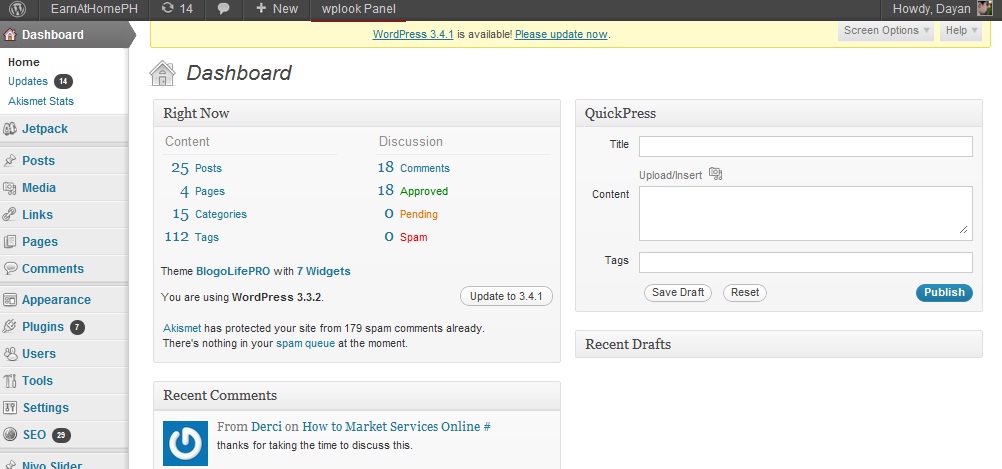
Once you have the basic requirements like a domain name and hosting provider, you can start putting together your website using the platform that you selected. I only have experience with WordPress so I can only tell you how it is done through this platform.
Start by choosing a theme. WordPress has hundreds of themes to choose from – both free and paid versions. Like the domain and hosting service, you can opt for the free templates but they can be quite limiting.
After choosing a theme, you can continue to activate various widgets and select from the many tools available on the site. You can place social buttons on your website and enable the RSS feeds so other sites can link to you.
This is all about aesthetics so keep your creativity running high. You don’t need to be an expert web designer to do this.
Feel free to explore the platform you are using to add widgets and tools that will make your website look as professional as possible. If your intention is to create a portfolio for your written works, that is a must.
We are nearing the end of this series about how to start a blog. We will be discussing next the most important aspect of your blog site: the content. 🙂